How to Prepare Your Music for Mixing in 5 Easy Steps
As a songwriter, you spend time writing and perfecting your music composition and ideas. It’s equally important to let your song be mixed by someone who specializes in this so you can hand off the process and continue working on your ideas.
Ask yourself…does your music sound as good as the latest music you are hearing on Spotify or Apple Music? Chances are, it’s far from sounding that good and you’ll need a separate, specialized set of ears to help you get there. This is where having your song mixed by an engineer will help you best.
Music is very personal and important and needs to be treated with respect and responsibility in order to take it to the next level for the world to hear. As a songwriter, your music needs to sound as clear as possible on any system, whether it be a nightclub, laptop, phone or car stereo. A mixing engineer is there to help you get to that final point, where you can finish a song and move on to your next big musical idea!
There are some things to prepare once you’ve found someone you trust with your music. Here are 5 steps that will cover what you need to do!
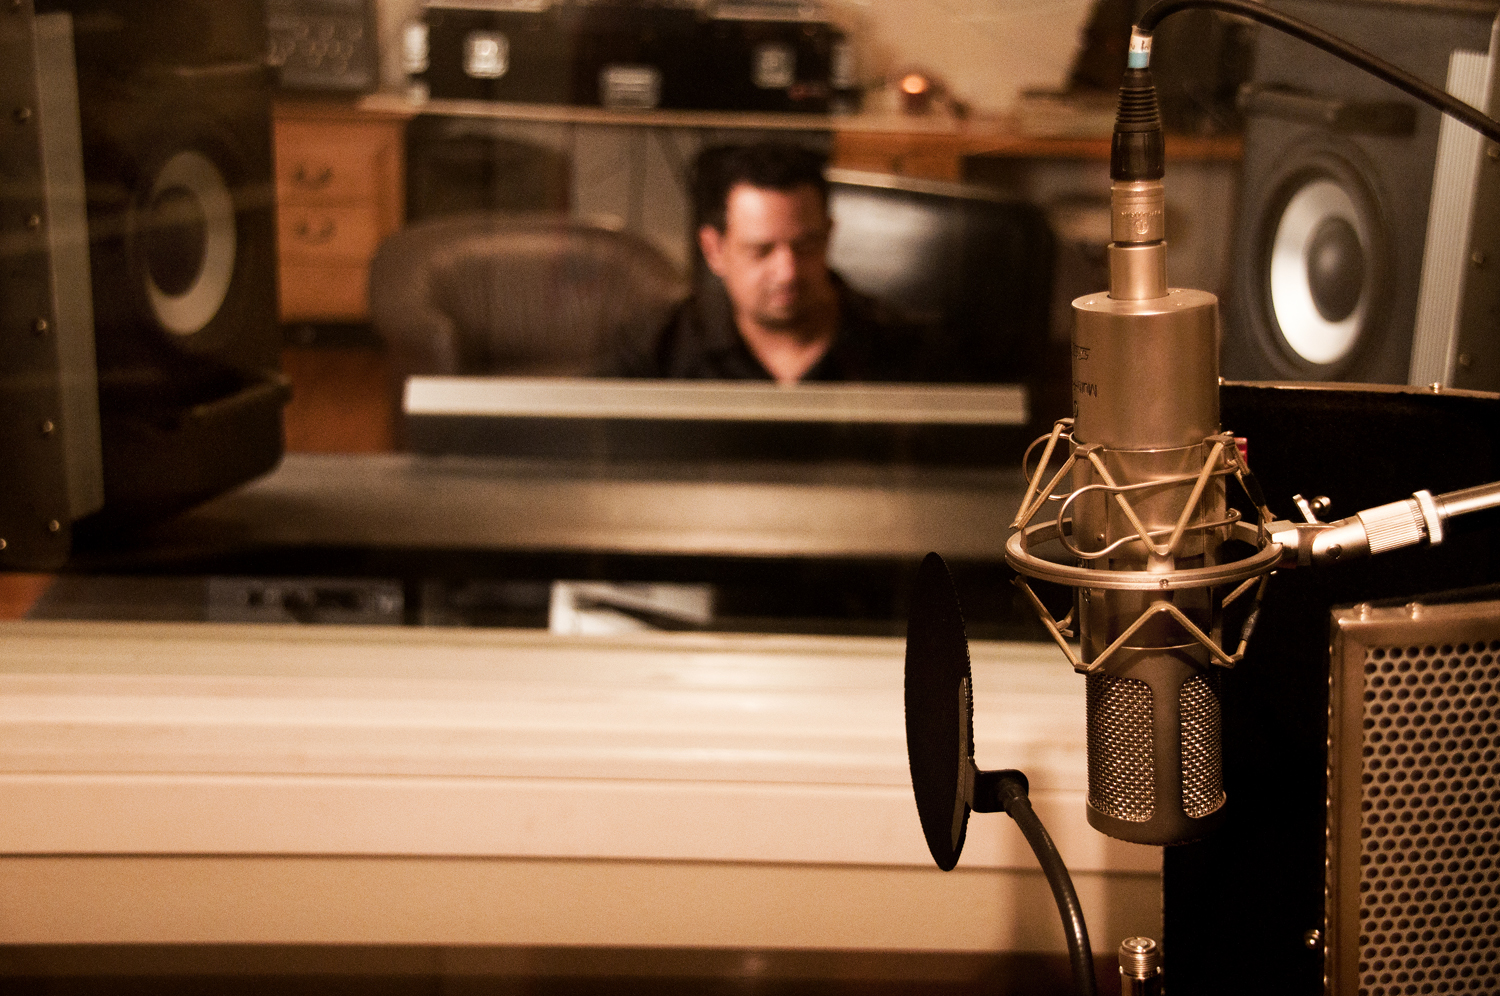
STEP 1: Recording/Editing.
Take time to make sure you’ve recorded and edited all the elements you want mixed into your song. These elements include back-up vocals and harmonies, MIDI instrumentation, and live instrument recording.
Is there a scratch vocal you want to include so you can re-record your vocal later? Let your mixing engineer know! Mixing engineers can guide you on the best way to get a great vocal take they can use and also recommend a vocal studio if needed.
Do your vocals sound out of tune in certain places? Tuning is a process that a mixing engineer can tackle, so long as you discuss that before hand.
Are there pops/clicks and loud breaths in your vocal? Discuss that with your engineer. Sometimes, breaths can be lowered or removed if harsh. This is a preference you can review with your engineer. They can also advise you on the best way to handle these issues before hand.
STEP 2: Labeling.
You’ll be providing your mix engineer with a Session Copy, WAV file STEMS, and a rough mix Mp3 that all need to be labeled for quick and easy reference.
A. In your DAW, go through each track and label each track according to what it is. For example, Drums, Guitars, Synths, Bass, Lead Vocal, Back up Vocal, and Harmonies. Drums should be separated to Kick, Snare, Clap, Hi Hat, Loops, and Percussion. If you need help separating your drum tracks, talk to your engineer about the best way to proceed!
B. Once these are labeled, take note of the BPM or Tempo of the song and write that down. BPM stands for Beats Per Minute, which is the tempo of your song. Also, take note of the Sample rate (44.1 kHz, 48 kHz, 96 kHz, 192 kHz) and Bit Rate (16, 24, 32).
Save a Copy of your session including the “Title_BPM_SampleRate_BitRate” as the name of the session. If you can’t find this information, let your engineer know!
STEP 3: Exporting.
This next process includes a few sub steps, but is important so take note as each DAW or Recording Program you use will handle these steps a little differently.
A. Open the Session Copy you have been working from and Export/Bounce a rough MP3 of your song. This is a rough mix and doesn’t need to be perfect, but should include all the elements you want to hear in your mix. Make sure you label the mp3: “My Song Title- Rough Mix”.
B. Avoid Clipping by lowering track volumes. First off, look for your master fader and play your song. Does it hit the red? If so, lower all your tracks as a group until that master fader no longer touches the red. This will avoid distortion in the process and ensure your tracks aren’t being clipped before the Export Individual Tracks process. Again, if you have trouble doing this, ask your engineer!
C. Turn off any Reverbs, Delays or Effects on Vocals and Live instruments. Your Vocal tracks should not include any effects like Reverb, Delays, or even Compression. Turn these off before exporting as your mix engineer will be using more professional sounding reverbs or a better sounding approximation of what you are looking for.
C. Export Individual Tracks. Each Recording Program or DAW (Digital Audio Workstation) handles this a bit differently, so you want to make sure you first have completed Step 2 (Labeling), then proceed. Solo each individual track and have a quick listen to make sure no elements are being recorded into the same track. For example, Kick, Snare, Hi Hat, Percussion, Bass, Synths, guitars, Lead Vocals, Back up Vocals, and Harmonies.
To export tracks individually, go to the Export section of your DAW and look for the Export Individual Tracks option. This is commonly found in apps like Logic, Ableton or FLStudio. The Export Individual track area should have options to set your bit rate (24 or 32 bit), Sample Rate (44.1, 48, 96, 192) and File Format (WAV or AIFF). Don’t export an MP3 of your individual tracks as those are lower quality and can’t be used for the mix. If you need help finding these options, talk to your engineer as he will guide you directly to where you need to go in your particular DAW.
Before you go to Export your individual Tracks, make sure you have selected and highlighted the song from the beginning to a few seconds after the last sound of your song. Using Grid mode will keep you locked to your tempo when selecting from the beginning of your song. This ensures all elements are included from the “Zero Point” or beginning of your song, all the way to the ending. Create a folder on your desktop you want these to go to, entitled “STEMS” and make sure this is selected in the Export tracks process. Double check after Exporting that each exported track or “STEM” contains only that track, without crossovers or effects. You can quickly listen using your desktop playback.
STEP 4: Sharing.
You’ll now need to share these Stems and the Session Copy you made with your Mix Engineer.
A. Create a folder to hold your STEMS and Session Copy. Title this folder “MySongTitle- Session and STEMS”. Move the STEMS and Session Copy to this folder. Right-click the folder and select Compress. This compresses these files into one smaller, easy to share Zip file which you send to the engineer and use as a backup.
B. Copy this Zip file to a thumb drive or hard drive you will bring with you to the studio and use as your backup.
C. Send this Zip file to the mix engineer using WeTransfer (this is an online website). WeTransfer can handle files up to 2 Gigs, so if the session is larger than 2 GB you can use Dropbox or Google Drive. Copy or move the Zip file to your Dropbox or Google Drive (or any other cloud drive you use) and then share a link to it through your email program. In Dropbox, you can right-click the file and look for “Copy Dropbox Link”, then paste this link into an email to the Mix Engineer.
STEP 5: Communicating
Now that you’ve sent your file to the engineer, send a quick text, email, or phone call to discuss what was sent and make sure all the elements made it through. This will ensure there are no roadblocks to getting your mix downloaded and started right away.
Learning how to do the above steps to share your song will help you get a professional mix ready that you can be proud of and share with the world. If you find you don’t have the time to do the above, simply talk to your engineer as many will also include that service in the rates they provide. You’re now on your way to getting your song finished! Congratulations!
https://www.soundmindindustries.com


0 Comments / Comments are closed